Photo Editors
Photo editors are probably referred to as such due to their common usage — editing photos. But photo editors are also known as "image manipulation software", after all, they can do more than just photos.
Special Effects
Most (if not all) pixel based image editing programs will provide you with a range of "filters" that you can apply to your images. Filters provide a quick way of adding special effects to your images. Here are some examples:
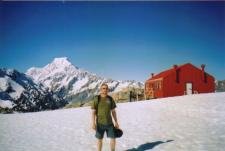
The original photo:
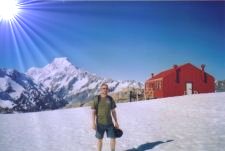
Applying a "lighting" effect:
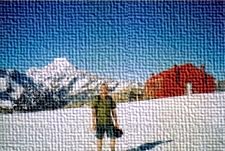
Applying a "canvas" effect:
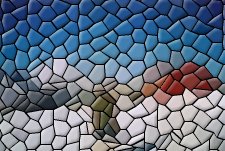
Applying a "mosaic" effect:
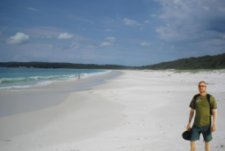
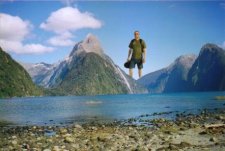
Superimposing
You can use photo editing software to "cut" a person or thing away from it's background and place it into a different setting.
Seen this character before?
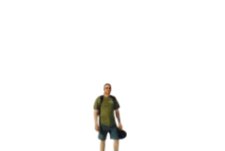
Seen this character before?
Seen this character before?
Seen this character before?
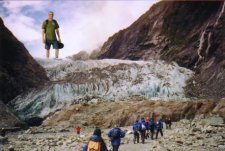
Photo editors are great for doing this sort of thing. The easiest way to "cut" someone or something away from its background is to use "paths". Paths enable you to draw around the person/thing, then turn that path into a "selection". Once you have it as a selection, you can copy/paste that selection (and everything within it) into another photo.
Resizing Photos
Resizing photos is probably one of the most common tasks done using a photo editor. Reasons you might want to resize a photo (or other image) could include:
- Your website design/layout requires it. For example, the original image might be too big to fit in the spot you'd like it to.
- You want to create a "thumbnail" which, when clicked on, leads to a larger version of the same photo.
- You want to speed up download time of your website (i.e. your website loads too slow because of the large graphics).
Any photo editor will provide you with a "Scale Image" option from the menu:
Using a photo editor called "GIMP", the above selection leads to the following dialog box (which enables you to choose how you want the image to be resized):
Caution: Note that resizing pixel based images upwards results in loss of quality. To avoid this, you need to ensure that the original photo/image is as big or bigger than you need it to be. Therefore, you should really only resize your photos to be smaller than the original (unless you like the "pixelated" effect).
Caution 2: Most photo editors have a default setting of "constrain proportions" (in the screenshot above, this is in the form of a chain ![]() ).
).
You can choose not to constrain proportions by clicking on the chain. This results in a broken chain ![]() . This means that you can specify a height and width without one affecting the other. By doing this, your image could end up looking skewed like this:
. This means that you can specify a height and width without one affecting the other. By doing this, your image could end up looking skewed like this: