SQL Server - Create a Database
One of the first things we should look at with SQL Server/Management Studio is how to create a database. After all, most of the tasks you perform with SQL Server will evolve around one or more databases.
System Databases
If you've only just installed SQL Server, you might notice that some databases have already been created. These are system databases.
| Database | Type | Description |
|---|---|---|
| master | System database | Stores system level information such as user accounts, configuration settings, and info on all other databases. |
| model | System database | This database is used as a template for all other databases that are created. |
| msdb | System database | Used by the SQL Server Agent for configuring alerts and scheduled jobs etc |
| tempdb | System database | Holds all temporary tables, temporary stored procedures, and any other temporary storage requirements generated by SQL Server. |
We will now create another database for our own use.
Creating a New Database
The following steps demonstrate how to create a database in SQL Server using SQL Server Management Studio.
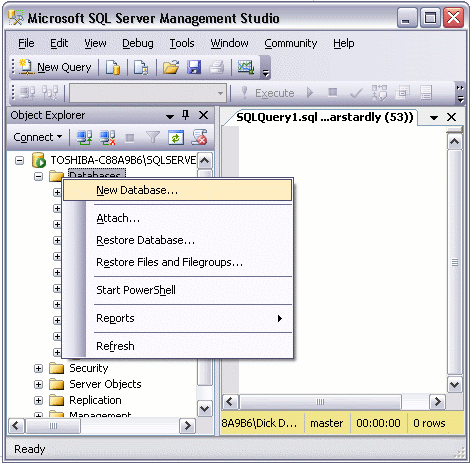
- Right click on the "Databases" icon and select "New Database...":
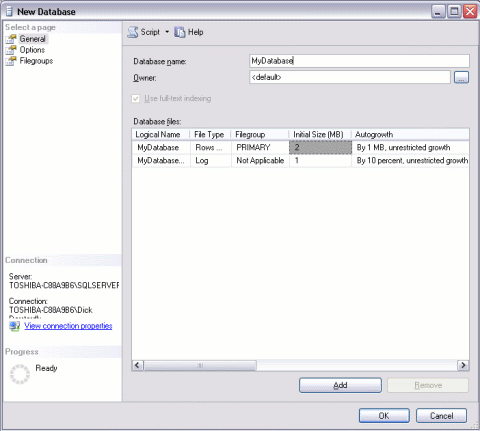
- Name your database and click "OK":
Your New Database
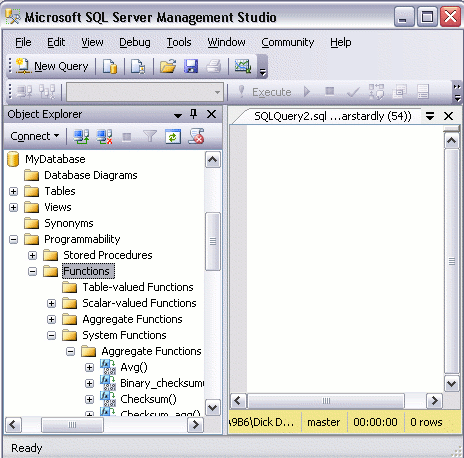
You will now notice your new database appears under the "Databases" section of SQL Server Management Studio.
Your new database is based on the "Model" database. The Model database is a system database which is used as a template whenever a new database is created. If you use the left pane to navigate to your database and expand the tree, you will notice that your database already contains a number of objects. For example, it already contains system functions, system views, system stored procedures, and (hidden) system tables. These are system objects which provide information about the database.
Other Options
We have just created a database using the default options. When we created the database, a "Data File" and a "Transaction Log" were created. They were created in the default location for our server.
If we'd wanted to, we could have specified a different location for these files. We also could have changed specifications on whether to allow the file to grow automatically (as it stores more and more data), and if so, how that growth should be managed. We could have done that at step 2. But all is not lost. We can still do it now that we've created the database. We can do it via the Properties dialog box.
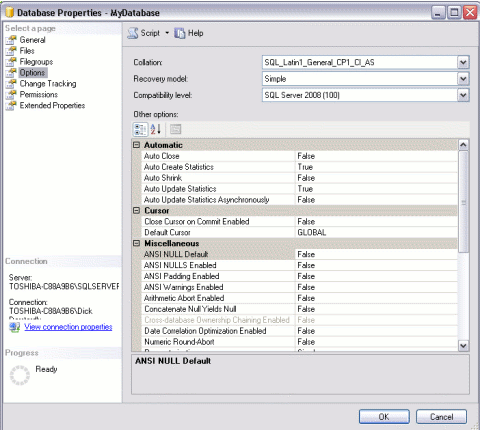
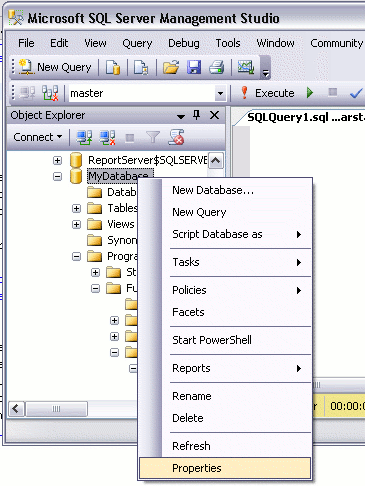
To view or change the database properties, simply right click on the database and select "Properties":
The Properties dialog contains a large number of options for changing the configuration of your database. For now, we can leave everything at its default setting.