Create a Database in Microsoft Access 2013
For this tutorial, we're going to create a database for a ficticious company called "Space Trips". This company sells space ships! Space Trips' customers are the adventurous type who like to make their own travel arrangements thank you very much. They prefer the "self-fly" holidays when they visit other planets. So they come to Space Trips whenever they need to purchase a new space ship.
Business is booming and the company now needs a database to keep track of their customers and the products they purchase. That's where we come in. Let's use Microsoft Access 2013 to create a database just for their needs.
Create the Database
The first step to creating a database is to, well, create the database! We will create a blank database first. Then throughout the rest of the tutorial, we'll make additions to it so that it suits the needs of our favorite space travel company.
Creating a database in Microsoft Access is as easy as creating a Word document! This lesson demonstrates how to create a database in MS Access.
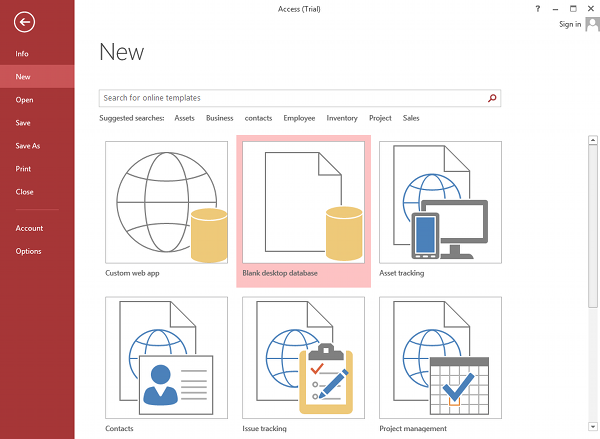
- You may notice that, when you first start Microsoft Access 2013, you see the following screen. In this case, you can simply select Blank desktop database (then skip to Step 3).

If you already have Access open, you can go to the File menu:

- Choose Blank desktop database. (Skip this step if you already chose Blank desktop database at step one). You also have other options, but we'll just use a blank database here:

- Choose a name and click Create. Let's call it SpaceTrips. You can either use the default location or click the folder icon to change the location:

Your New Database
Once you've completed the above steps, you should see a blank database, like this:

We know this database is blank because it only contains one table (called Table1) and that table only has one column (called ID). So we need to add some more columns to the table and give the table a name. We can do that next when we Create a Table.
There's also a tutorial for Access 2016.