ColdFusion Installation Guide
UPDATE: This article has become slightly outdated, as it discusses a previous version of ColdFusion. I've now written a new article demonstrating how to install ColdFusion version 8 and ColdFusion version 11.
As mentioned in the introduction, you need to install ColdFusion before you can build ColdFusion applications.
You can install ColdFusion from disk or download it from the Adobe website (Adobe is the company that produces ColdFusion). ColdFusion (at least version MX 7) comes in the following editions: Developer, Standard, and Enterprise. The Developer edition is based on the Enterprise version but is limited to running on localhost and two other machines.
To give you an idea of what ColdFusion installation involves, below are the steps that I took when installing ColdFusion MX 6.1 30 day trial onto a machine running Windows 2000.
You can download ColdFusion MX from the Adobe website.
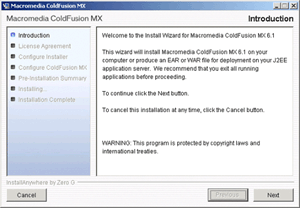
Step 1: Introduction
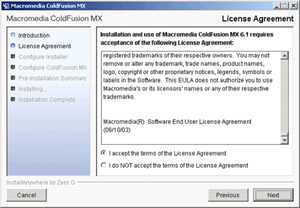
Step 2: License Agreement
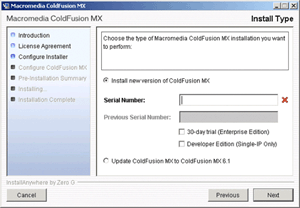
Step 3: Install Type
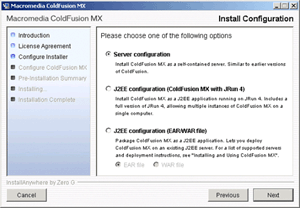
Step 4: Install Configuration
Step 5: Choose Install Directory
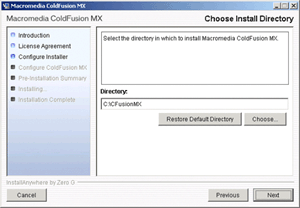
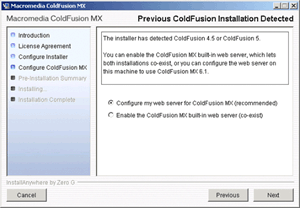
Step 6: Previous ColdFusion Installation Detected
(this may be different if doing a clean install)
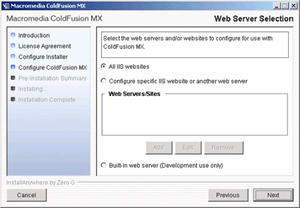
Step 7: Web Server Selection
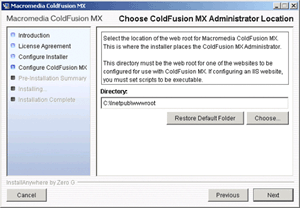
Step 8: Choose ColdFusion MX Administrator Location.
If you use a different directory location for your website, you can create a virtual directory on the web root and point it to the CF administrator directory under this directory.
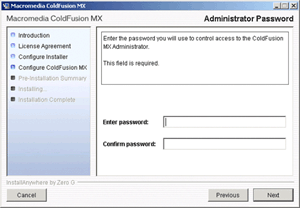
Step 9: Administrator Password
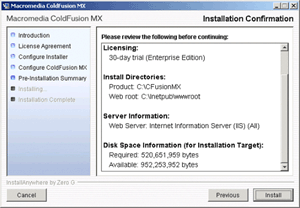
Step 10: Installation Confirmation
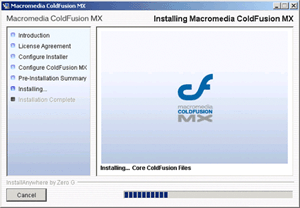
Step 11: Installing ColdFusion
(took 10 minutes on my machine)
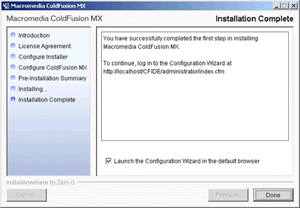
ColdFusion MX Configuration
ColdFusion MX Configuration Wizard Consists of the following steps:
- RDS Setup (should only use for development purposes)
- ODBC Setup (configure databases)
- Example Applications (install example apps if you like. This should only be done in your development environment)
- System Configuration
- Migration (only if you're upgrading from a previous version)
- Export Settings
- Validate Settings
- Import Settings
- Finish
Note: ColdFusion MX has a restriction on the length of the password. Password has a limit of 16 characters. If any of your databases have passwords longer than 16 characters, they will need to be shortened to less than 16 characters before creating/verifying the data sources.